
When you are in a survival situation, every second counts. This blaze bar paracord bracelet is designed to quickly deploy. How quick you ask? Under 20 seconds!
Follow this tutorial to make your very own blaze bar, quick deploy paracord bracelet and be at ease knowing you’re a little more ready for an emergency situation.
Wait – Not the one you were looking for?
Check out our awesome list of paracord bracelets here
How to make a paracord bracelet:
Blaze bar, quick deploy paracord survival bracelet:
Supplies you need:
- 13 ft of 550 Paracord (makes 8.5″ bracelet)
- 1/2 in side release buckle
- scissors
- lighter or matches
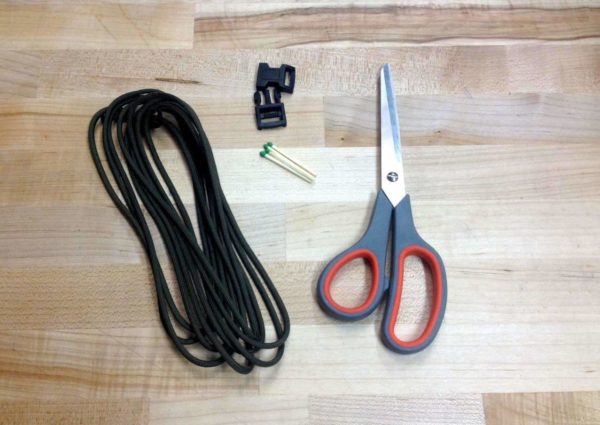
Supplies for the Blaze Bar Quick Deploy Paracord Bracelet
Step 1:
To get started, attach your paracord to one side of your buckle:
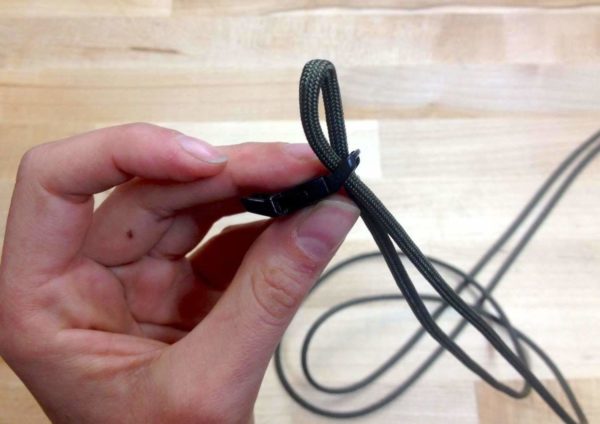
Fold your piece in half and thread it through the buckle.

Pull the ends through the loop you made and pull tight.
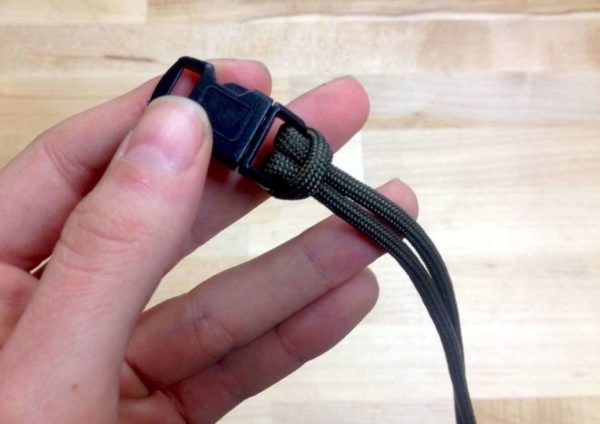
When you start your bracelet, it should look like this.
Step 2:
Attach the other buckle and size it to your wrist:
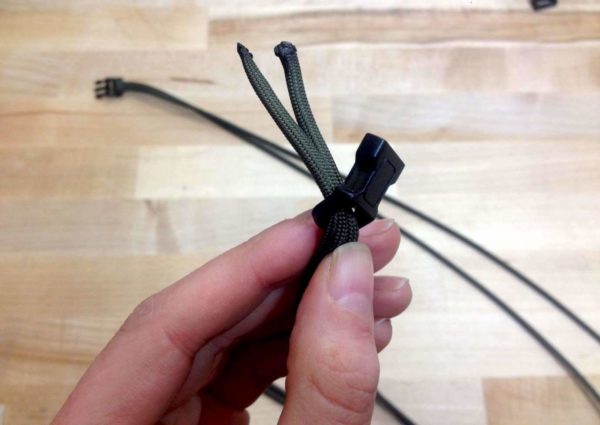
Thread the loose ends through the second buckle piece.

Pull the buckle up along the cord until you are at your desired bracelet length.

Loop the ends back up towards the first buckle.
Step 3:
Start weaving your bracelet:

Hold the ends so the left free strand is on the left side of the buckle and the right strand is on the right side.

Take the left strand around the front and loop it around all the pieces of paracord.

Pull it back to the left side.
Step 4:
Start with the strand on the left that is free hanging:
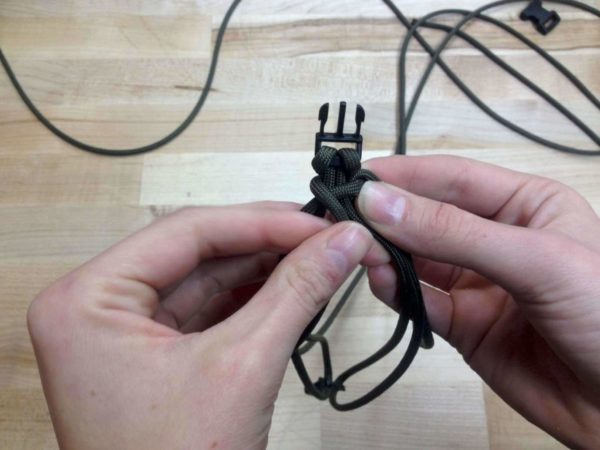
Starting with the left piece, thread it over the left core section.

Take it under the right core section.

Over the right free strand.

Now, take the right free strand. Keeping it under the left free strand – pull it over the right core section.

Underneath the left core section and up through the loop created by your left strand.

Pull to tighten.
Step 5:
Now, start the second section with the free strand on the right:

Now, starting with the right free strand – Pull it under the right core section.

Over the the left core section.

Underneath the left free strand.

Now, grabbing the left strand, pull it under the left core piece.

Over the right core piece.

Up, through the loop created by the right strand.

Push the weave up.

Pull the free strands in opposite directions to tighten.
Step 6:
Repeat step 4, starting with the left strand. Here’s a quick recap:

Left strand over and under.

Pull the right strand under the left.

Pull the right strand over the right core, under the left and up and through the left loop.

Tighten.
Step 7:
Repeat step 5, starting with the right strand. Here’s another quick recap:

Pull the right strand under the right core and over the left core piece.

Pull the left strand over the right strand, under the left core piece, over the right core piece and through the loop.

Tighten and repeat.
Step 8:
Continue to repeat steps 4 and 5 until you’ve reached the second buckle. Finish up by trimming the ends and sealing them with your lighter or matches.
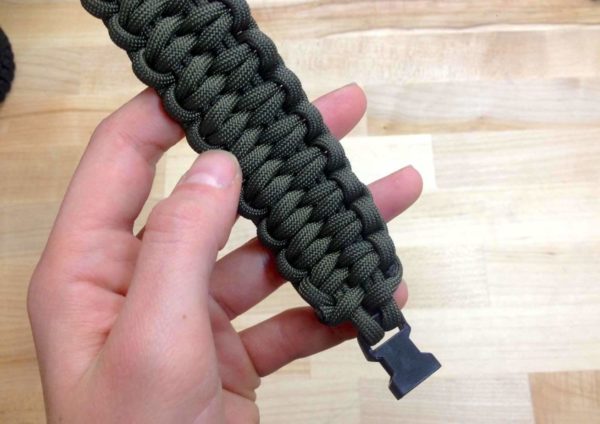
Cut off the ends and use your lighter or matches to burn them.

No comments:
Post a Comment